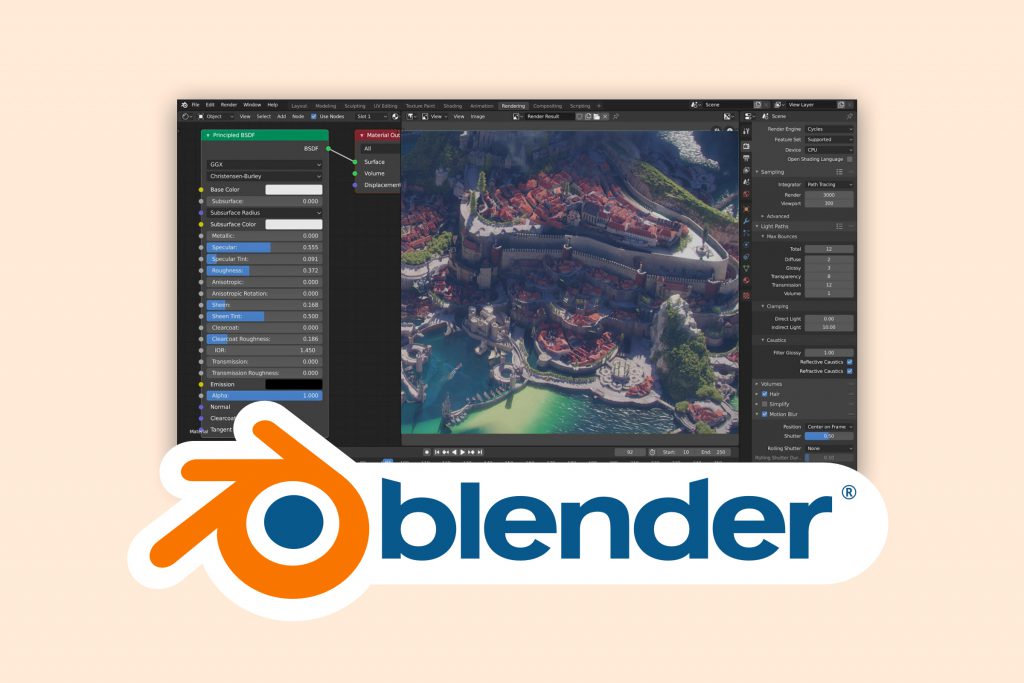
Blender is a powerful 3D modeling and animation program that can easily create complex animations. However, rendering these animations is a time-consuming process that requires expert understanding of the software and the hardware needed to use it. If you want to hire a freelancer to create animations in Blender, you need to understand the Blender rendering process. This supports effective communication with potential hires.
When hiring Blender artists, you should ask for samples of their related work. Notably, Guru is one of the best freelancing platforms out there with many experienced and skilled animators. Before we look at how to render an animation in Blender, let’s examine what Blender is used for.
More About Blender
Blender is an open-source 3D animation and modeling software that offers a wide range of features for creating 3D scenes and animations, including: texturing, sculpting, and compositing tools. This allows it to simulate hair, cloth, and rigid body dynamics in a natural way.
This powerful animation system supports procedural animation, keyframe animation, and motion capture data. It offers a real-time viewport that allows you to get quick feedback on changes and supports automation and scripting through Python. This allows for artist customization.
Rendering an animation means using specialized software—such as Blender—to generate a series of images that, when played in sequence, creates the illusion of motion. The process of rendering involves taking the 3D models, textures, and lighting information of an animated scene and using a computer to calculate how the final image will look.
Creating Animation With Blender
Here are the steps to generate an animation with Blender:
- Set Up Your Scene
Before you start rendering, you need to set up your scene by creating your models, setting up your camera, and adding any lights or special effects.
- Select Your Rendering Settings
Once your scene is set up, you must choose your rendering settings. This includes selecting the output format, resolution (1080 pixels or 720 pixels), quality settings, frame rate, and frame length.
You can change the frame rate and frame length by going to Properties > Output > Format. The higher the quality settings, the longer the rendering process will take. Beginners can use a frame rate of thirty frames per second.
- Set Up Your Rendering Environment
Before you start rendering, you need to set up your rendering environment by preparing your hardware (including the central processing unit and graphics processing unit) to ensure your rendering process runs smoothly.
This is when you choose the rendering engine. There are two types—Eevee and Cycles.
Eevee is primarily used for previewing projects and scenery, and producing objects for usage in other programs such as gaming engines. On the other hand, Cycles was designed for realism and focuses on delivering professional-grade renderings of your projects using real-world material and lighting applications.
Eevee is designed for speed, while Cycles is mainly for quality. However, quality can always be improved with the right settings.
- Choose File Location and File Format
The final step before rendering the animation is to ensure you choose the right file output. First, select the file location where it will be saved. To do this, navigate to Properties > Output > Output and click the folder icon.
You also have to determine the file format you will use. To do this, go to Properties > Output > Output and File Format. The popular file format is FFMPEG, which is a command-line tool that converts audio or video formats.
- Start Rendering
Once your scene is set and your rendering environment is ready, you can start rendering your animation. To render, navigate to Render > Render Animation in the user interface’s header bar or use the hotkey Control + F12 to start the rendering process. Make sure to specify the start and finish frames of the animation, as well as the render output parameters. Blender will render each animation frame, and you can choose to render them sequentially or in parallel.
- Review and Adjust
Once your animation is rendered, you can review it to ensure it meets your specifications. If there are any issues, you can adjust the settings and render again.
In Conclusion
When hiring a freelancer to create animations in Blender, find someone with experience with the software and rendering process.
Guru is the best platform for finding Blender artists and experts in other 3D modeling and animation software. With Guru, you can connect with freelancers who have proven experience in their field and can communicate with them directly to ensure that your project meets your specifications.


