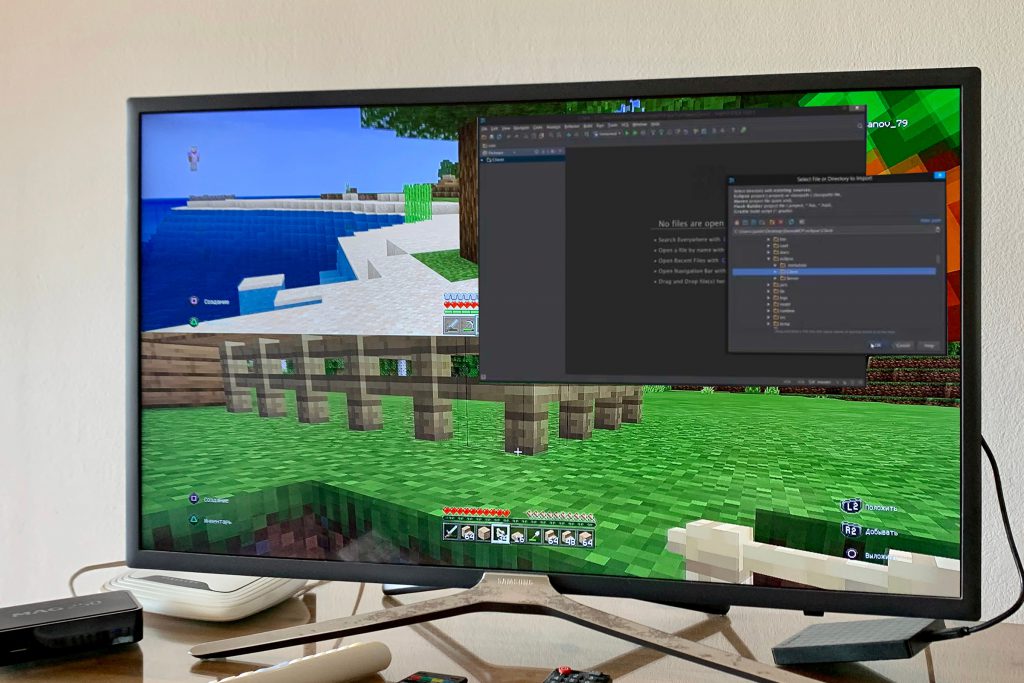
As Minecraft’s popularity grows, many software development companies and individuals have discovered immense opportunities to develop downloadable items to help players customize their video games. Some of the most common downloadable items for customizing Minecraft include modifications (mods), custom maps, and packs.
If you’re looking to develop any of these items, you need to hire a qualified and experienced Minecraft developer. Fortunately, there are many Minecraft developers for hire that are always ready to handle your projects. For instance, you can find hundreds, if not thousands, of qualified Minecraft developers on reputable freelancing websites like Guru. But before you hire any developer, you must ensure they have the skills and experience to code.
Firstly, you need to know how to code Minecraft so that you know what to look for in a developer. The first important question to ask is: What coding language does Minecraft use? Secondly, you need to understand how the whole Minecraft coding works. This article teaches you how to code Minecraft.
What Is Minecraft?
Minecraft is a popular sandbox video game developed by Mojang, a Swedish software development company. Since its launch in 2011, it has become the most successful sandbox video game ever. It allows players to collect and place digital blocks together in three dimensions to build different things.
How Does Minecraft Coding Work?
Whether you’re developing a Minecraft mod or a custom map, you have to use the right coding language and technique to get the desired results. If you’re hiring developers, they must be familiar with different coding languages and understand the best techniques for creating Minecraft mods. Ask your developers some critical questions about Minecraft to see if they understand how it works. For instance, they should be aware of what WorldEdit Minecraft is and how it works. Here’s a step-by-step guide on how to mod a custom sword to use in your Minecraft games:
Setting Up Your Tools
Start by downloading and setting up all the necessary tools, including your Java Developer Kit (JDK), code editor, Forge, and Pinta.
Creating Your Project
Open Eclipse and choose your directory from your PC. On the Eclipse window, choose Import Projects and select Existing Gradle Project. Click Next. Choose Browse and open your project folder. Click “Select Folder” and then click “Finish” to import your project into the workspace.
Making Your Minecraft Mod
To start typing in your Java code, go to the project folder and open the “src/main/java” folder. Then double-click on the “ExampleMod.java” to find the Java code file. Find the lines defining your MODID and NAME and change the name MODID to the sword in lowercase. You can choose whichever NAME you like for your sword.
You need to create variables and import the code files that define the work of each ToolMaterial and Item. Because you’re developing a customized sword, define the material of the sword tool. Below the logger line in the preInit function, write out the myToolMaterial line to fill in your myToolMaterial variable with what the material does for the tools you apply it on. This will generate a new Java code file titled “CustomSword” and open it automatically.
This code defines how the CustomSword will appear and behave. You’ll need to add a constructor for this Java code file to define how the sword will be developed. After adding the constructor, remove the Material reference in your parentheses and write out your ExampleMod.myToolMaterial.
The next step is to set your RegistryName, CreativeTab, and UnlocalizedName for the sword. Use “my_sword” as the Registry and Unlocalized name because the code uses it to identify the sword, and link your texture to it. You can change the CreativeTab to your preferred tab. Then, create a new Java class that you’ll use to register the sword into Minecraft.
Open a new class window and call it “CommonProxy,” then click on “Finish.” Above the CommonProxy line, write “@mod.EventBusSubscriber.” This helps the class to run when loading Minecraft to register the sword into the game. To import the code for your mod, use the same procedure you used to import Item and ToolMaterial.
Make sure you create a new function to run the specific code to register the sword item in Minecraft. Don’t forget to include the ExampleMod.mySword in the registerAll() parentheses to direct the register function to register your sword item specifically. You also have to import the missing code from the new Class by importing SubscribeEvent followed by RegistryEvent and Item, respectively.
Finally, test your code by clicking inside the code window and the green play button at the top. Don’t press the buttons with small icons in the corner–wait for the Forge Minecraft window to load fully. You should have a sword at the bottom of every tab you open.


